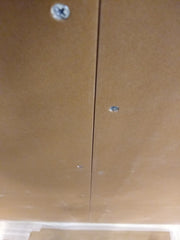
A few words about screeds. It is definitely the most sensible and cost-effective for the homeowner to choose ready-made instruments. In this case, the construction site will remain a bit cleaner, when the mixture ratios in the screed used are certainly correct. The names of the screeds vary slightly depending on the manufacturer, but the most commonly used are J, LF, LH, LW and LG. The J-level is specially designed for fixing the seam tape of plasterboards. No other mixture should be used for this purpose, as it is the best choice due to both its adhesiveness and spreadability. LF and LH are easy-to-sand light screeds that can be used, for example, to re-smooth a seam tape that has already been fixed once. LW is a light screed designed for wet spaces, which can be used to smooth, for example, a plasterboard ceiling in a bathroom. LG, on the other hand, is a rough filling leveler that can be used to level holes with a maximum depth of about 30 millimeters at one time. In our example site, only screed J is used, because there is so little area to be screeded. We saved on costs and only took one screed, taking into account that the J screed shrinks more when it dries than, for example, the LF option.
If you are an unaccustomed child handler, I recommend setting aside plenty of time and peace of mind for the work. In my opinion, this is one of those work steps that should not be done on the day of the move with the helper - and especially - drinks. Prepare the tools and materials and properly protect the floor in front of the wall to be smoothed. I recommend that you tape the protective cardboard or paper all around the edges to the floor with painter's tape. When the protection is properly attached to the floor, it is easier to sweep or vacuum clean between work phases.
The screed is applied to the wall with a trowel . It is good to have a couple of spatulas of different sizes, for example 20 and 25 centimeter wide individuals and one a little smaller, which is convenient for digging the screed out of the jar. You should dig the screed out of the jar by licking the edges, because the screed left on the inner edge of the jar may dry out and crumble into the screed, causing the mixture to become uneven - and the end result will suffer.
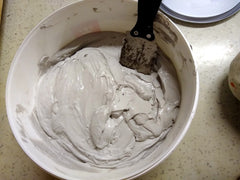
A screed bucket and a trowel
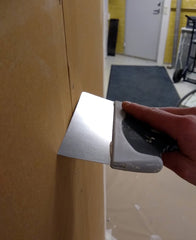
The trowel is almost perpendicular to the surface to be smoothed
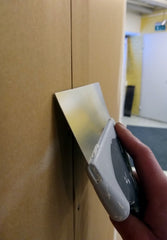
Spread along the wall
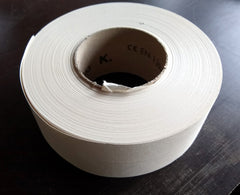
Seam tape roll
The use of the trowel and the angle require practice. The basic rule is: the more upright the trowel is in relation to the wall to be smoothed, the less screed is left on it. If, on the other hand, the trowel is transported in movements close to the wall, more screed remains on the wall. Both techniques are needed. Personally, I tend to level, for example, the screw heads with the trowel very upright, while with the seam tape I move the trowel as diagonally as I can.
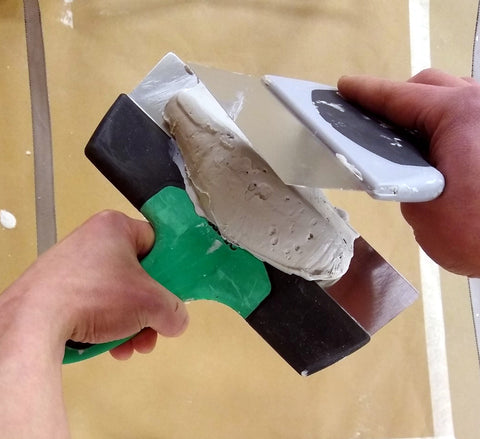
The technique of two children
When applying and installing the seam tape, it is good to follow the instructions given by the board manufacturer. However, the general rule is that joint tape should be used in all joints of plasterboard. The use of seam tape is necessary because when the substructures dry or live, depending on the weather, the surface structure also moves a little. The function of the tape is to keep the crack hidden.
A generous amount of J-leveling is applied to the edge thinning section. The seam tape should be shortened to a suitable length in advance so that the roll does not get tangled. When the groove is filled, you can lightly press the tape into place with your fingers. Then, with a trowel, press firmly onto the screed. Air pockets should be avoided at this stage. The tape should get completely wet from the screed, on the side of the board. If there are air pockets, you can tear the tape a little from the edge and press a little more leveling under the tape with the tip of the spatula. When the tape is properly seated in the groove, leave it to dry according to the manufacturer's instructions: usually for the next day or at least for six hours.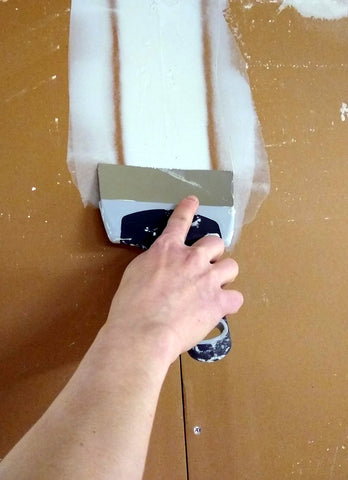

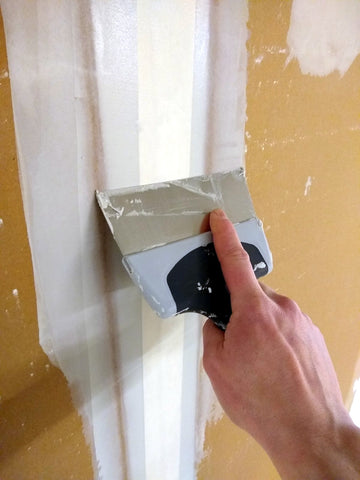
First, I will level the groove
Then press the tape into place
And finally over
There is no edge thinning at the end of the board, the boards are installed in the butt. In such a case, the seam is slightly widened with a serrated knife in order to get a slightly thicker screed at the seam. Otherwise, proceed with the end strips as instructed above.
When the seams are done, the screw heads are smoothed. It is recommended to level the screw heads in such a way that there is not really any leveling around the screw hole the first time.
When the seams and smoothed areas have dried, if necessary, you can lightly sand away the worst unevenness with, for example, a sanding block . At this point, the appropriate paper thickness is P100. You can also try a grinder, but be careful. Remember to also protect yourself from sanding dust! After sanding, it's time to make another leveling layer. This is necessary because the screed shrinks quite a lot when it dries. When smoothing over the seam strips, you can use a slightly wider trowel if you wish. Remember to level the screw heads again, now with a layer of leveling material slightly thicker than the first layer.
Depending on the layer thickness obtained on the wall, the leveled areas may still require even a third round of leveling in some places. Proceed as above. When the last leveling layer has dried, the most difficult phase of the work, sanding, begins. In general, when grinding one's own products, the motivation to learn how to handle a spatula grows exponentially: the better the spatula has been handled, the less need for grinding and sweating. Carefully sand the edges of specially leveled areas.
I'll tell you more about painting later in its own article, but at this point it's still good to remind you: in order for the end result to be as good as possible, the smoothed areas must first be painted separately once and allowed to dry properly. A leveled spot absorbs paint in different ways than a bare plasterboard. If you don't take this into account, the end result will definitely be spotty.
Finally, I would like to remind you that it is good to clean the spatulas fresh after use. Scrape the excess leveling with the blade of the trowel into the trash. After this, the blade can be wiped with a cloth or rinsed. However, do not put screed blocks down the drain. After cleaning, the blades should be dried.
May the force be with you, even on May Day!
Links to products:
Grinding support for extension arm
Grinding support with hand handle